My Workflow
Welcome to My Workflow, your guide to how stunning deep space images—like this one of the Andromeda Galaxy (M31)—go from a faint smudge in the sky to a vivid, high-resolution photograph.
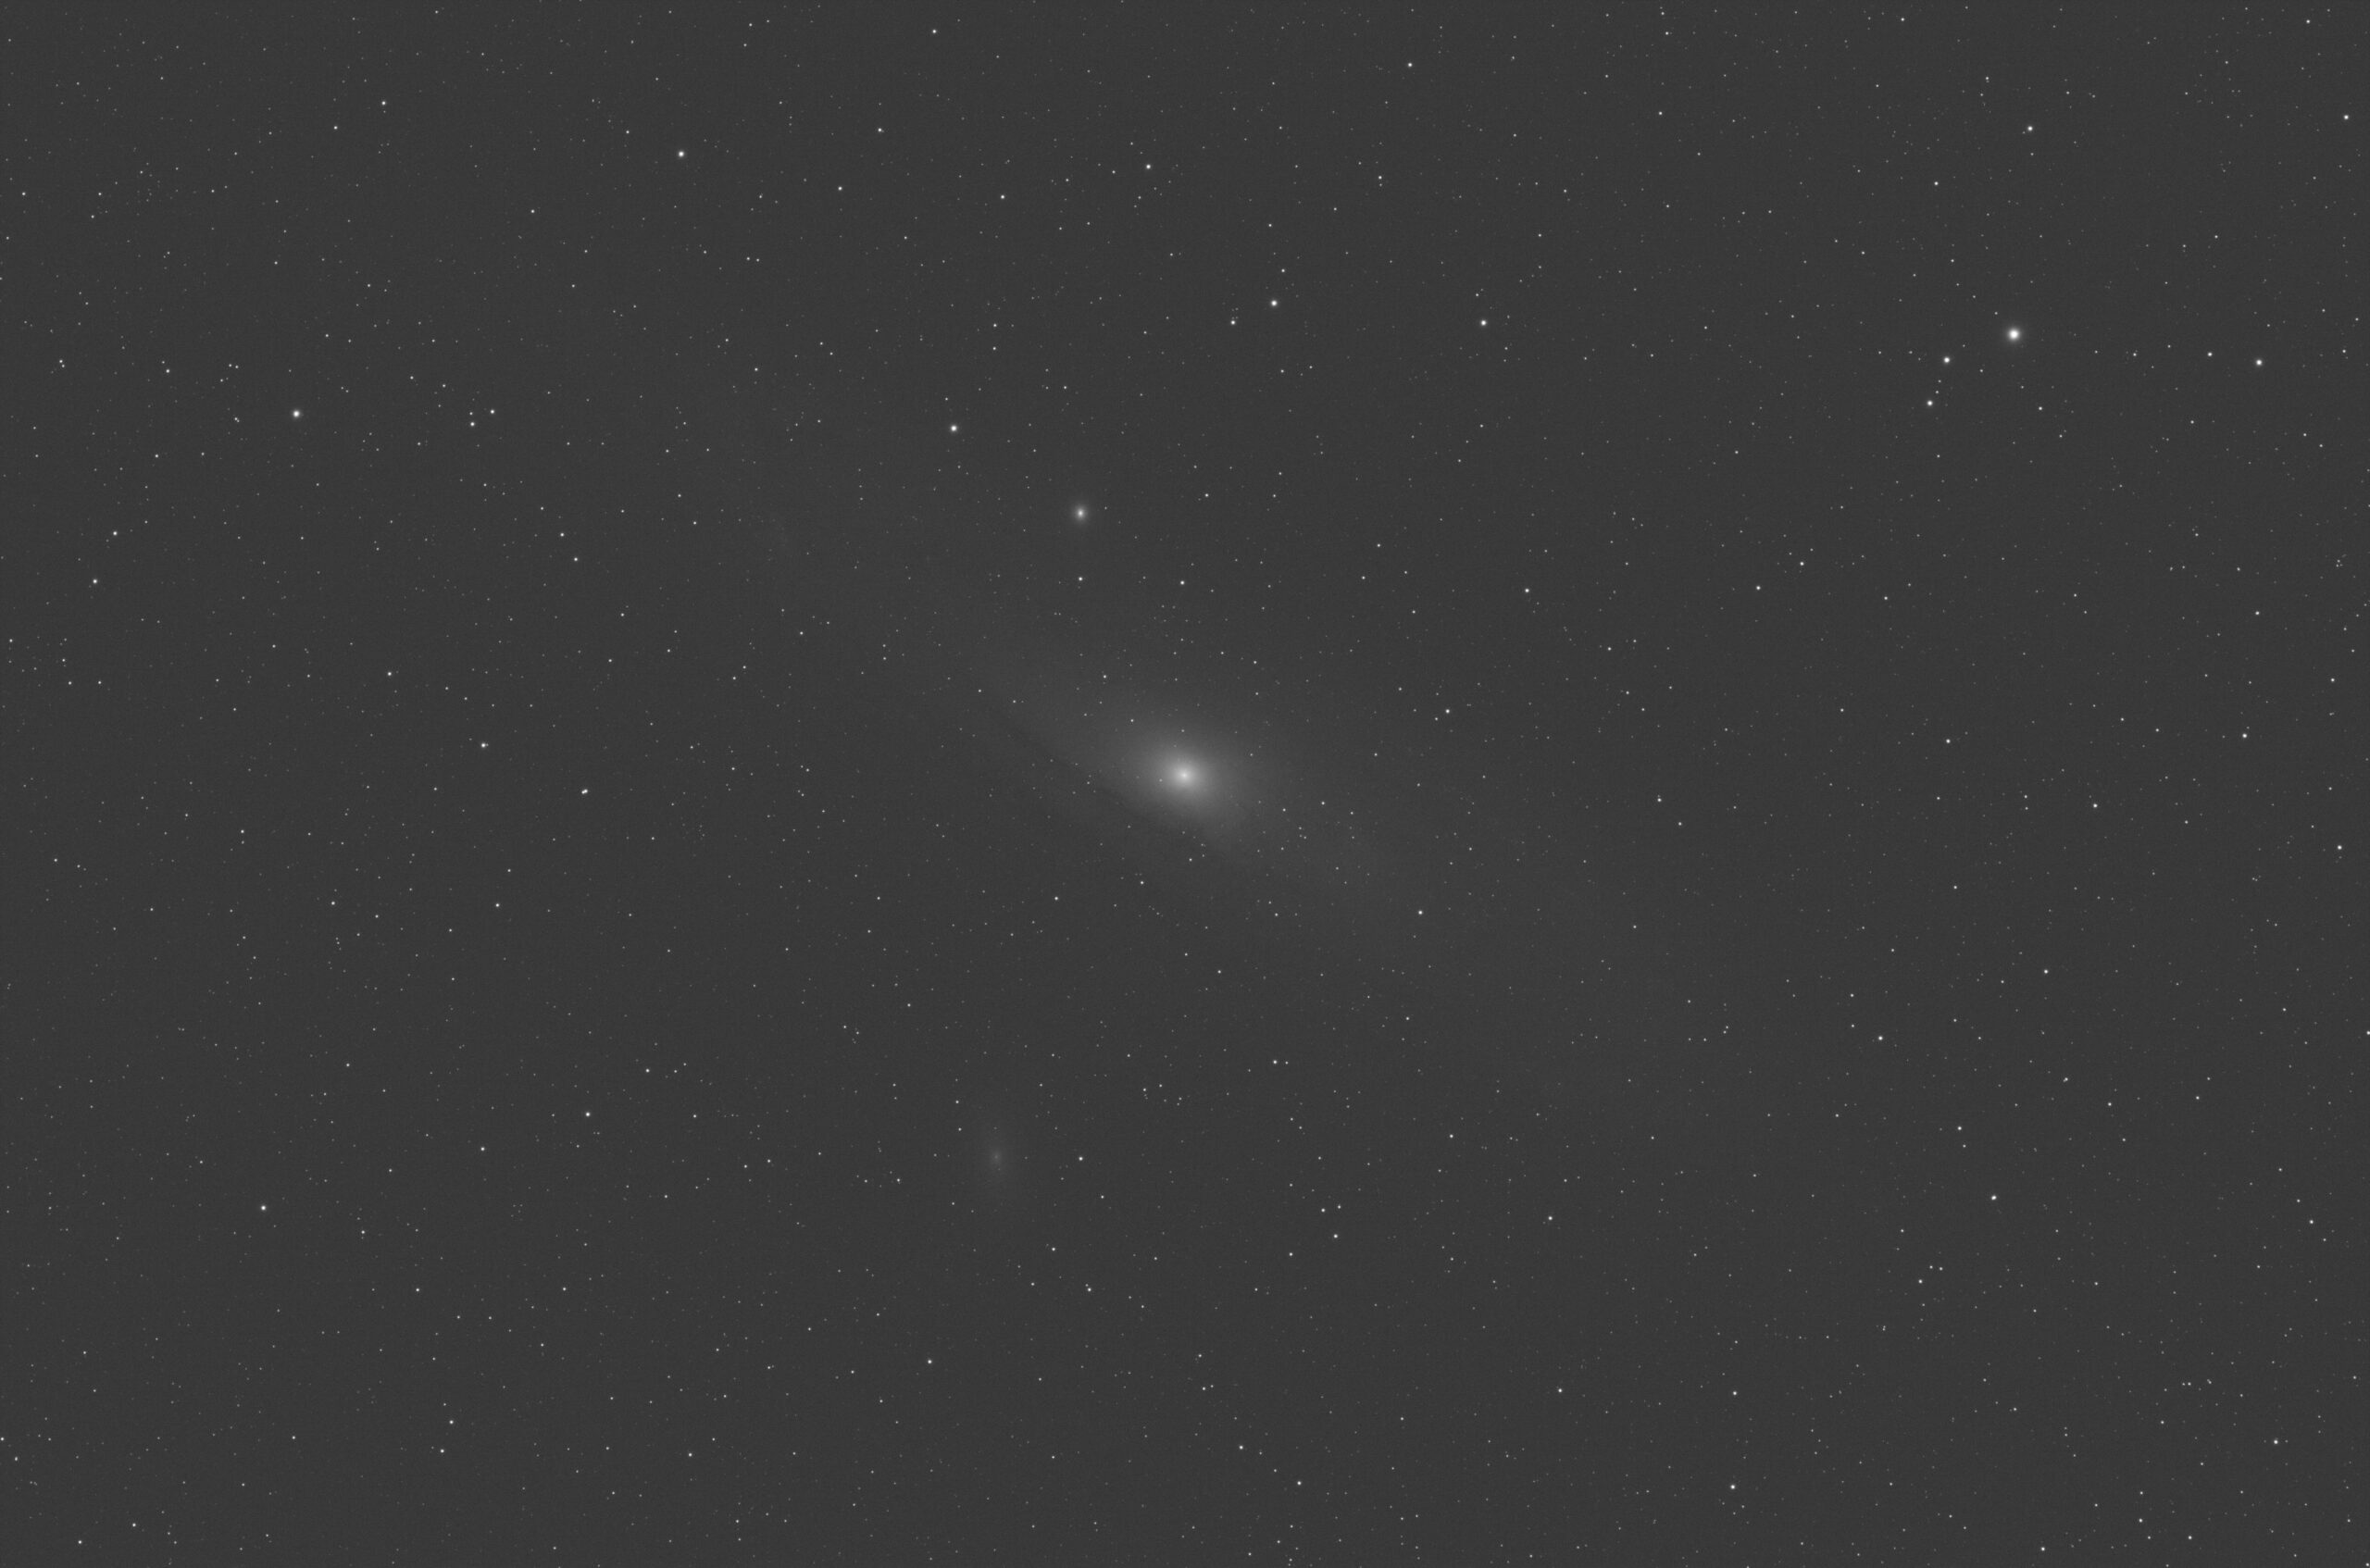
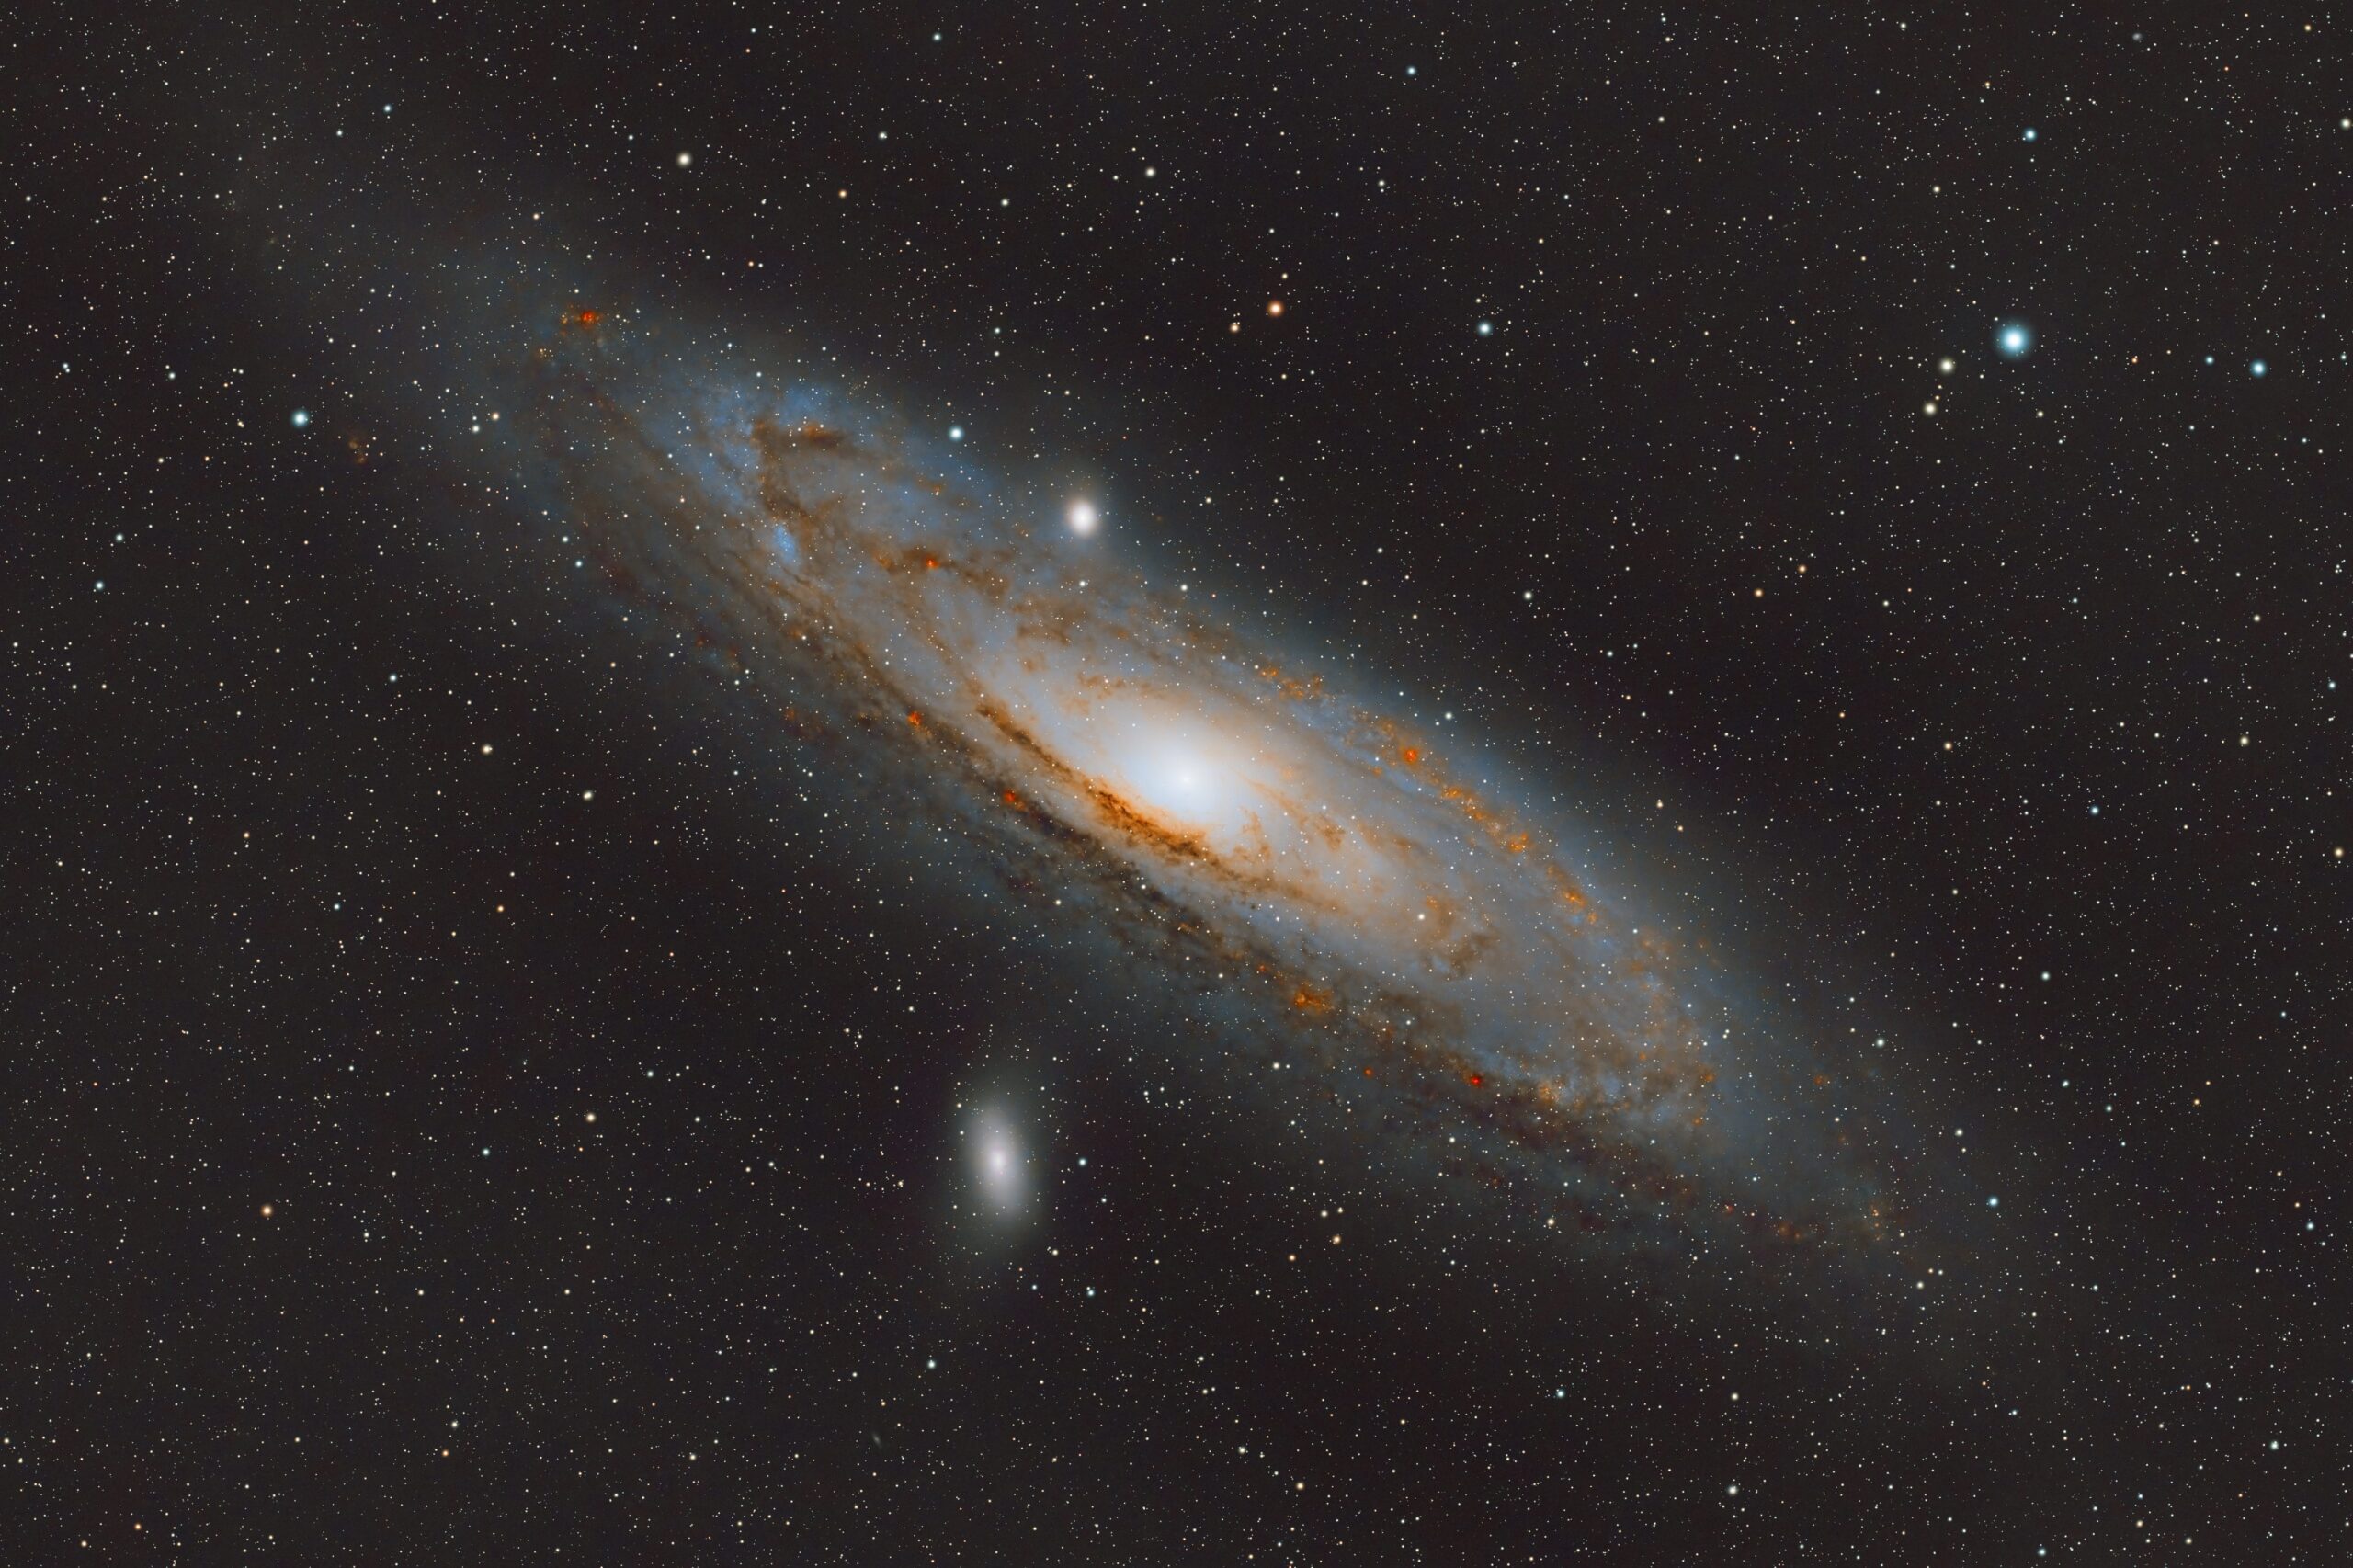
Amazingly, the “Before” image you see here is already slightly processed—straight out of the camera, the raw frame looks almost completely black, with just a few faint dots marking the brightest stars. All the rich detail and color are already there, but they’re hidden—compressed into a very narrow range of brightness known as the dynamic range. While the camera can record subtle differences in brightness, a standard computer monitor or TV can’t display them all at once. Through a process called “stretching”, we expand that dynamic range to reveal the vibrant colors, subtle dust lanes, and fine structures in the spiral arms that were invisible at first glance. This is one of the many steps in a long process that transforms a faint light into a vivid, detailed image.
Astrophotography might seem like magic, but it’s actually a blend of careful planning, precise equipment setup, and detailed image processing. The overview below breaks down the journey into three key stages with links to dive deeper into each section!
Planning
From Sky Charts to Target Lock
Before you can photograph something 2.5 million light-years away—like Andromeda, our closest galactic neighbor—you need to know when and where it’s visible. This section dives into:
Choosing Your Target
Learn how amateur astronomers select objects based on location, time of year, and visibility. (Fun fact: Andromeda is visible to the naked eye in dark skies!)Timing & Conditions
We explore how moon phases, light pollution, and weather can make or break your session. You’ll also learn how to use tools like planetarium apps to plan the perfect night.Framing & Composition
It’s not just science—it’s art. We’ll show how to frame galaxies like Andromeda for maximum visual impact, even with beginner gear.
Equipment
Precision Tools for Distant Worlds
Behind every great astrophoto is a stack of carefully chosen gear. You don’t need a space telescope—but you do need to understand how to use what you have. In this section:
Telescope & Camera Setup
Discover how to mount and align your telescope, and what kind of camera setups work best for deep-sky objects.Polar Alignment & Tracking
Earth rotates, so your telescope needs to compensate. Learn how accurate alignment and motorized tracking keep your camera locked on target for long exposures.Focusing Techniques
Even galaxies need sharpness. We’ll cover tools like Bahtinov masks to get pinpoint stars.Auto-Guiding & Exposure Settings
Want longer, more detailed shots? Guiding systems help prevent star trails during multi-minute exposures. (Andromeda looks much more detailed with longer subs!)Calibration Frames
To eliminate sensor noise, dust spots, and vignetting, you’ll take a few extra shots called darks, flats, and bias frames. These aren’t optional—they’re essential.
Image Processing
Turning Raw Data into Art
After hours of exposure time, you’ll have dozens (or hundreds) of individual images. Now what? This section walks you through:
Image Stacking
Combining multiple exposures reduces noise and reveals faint detail. You’ll see how stacking software turns raw data into something truly usable.Post-Processing Techniques
Using tools like Photoshop or PixInsight, we stretch the image to bring out faint features, adjust color balance, and highlight the beauty hidden in the darkness.
(Fun fact: Andromeda is surrounded by delicate dust lanes and star-forming regions that aren’t visible until you process the image!)