Planning
The work to produce a beautiful images starts long before I ever see an image. There are often days or weeks – events months- of work to do before I combine the images and see what I’ve captured!
This page will detail the planning process – from selecting the right target for the season, picking the right night, and preparing the shot.
Choosing a Target
A Moving Target
Over the course of a night, the sky appears to rotate at a steady rate of 15 degrees per hour (360° ÷ 24 hours), due to Earth’s rotation. That means during a 10-hour summer night, we see roughly 150 degrees of celestial rotation; in a 13.5-hour winter night, that extends to about 203 degrees. These numbers refer to the angular rotation along the celestial equator, which is the widest part of the celestial sphere — like Earth’s equator projected onto the sky.
But this rotation doesn’t directly translate to the area of sky we can see. That’s because our view changes depending on our latitude and how close we’re looking to the North Celestial Pole.
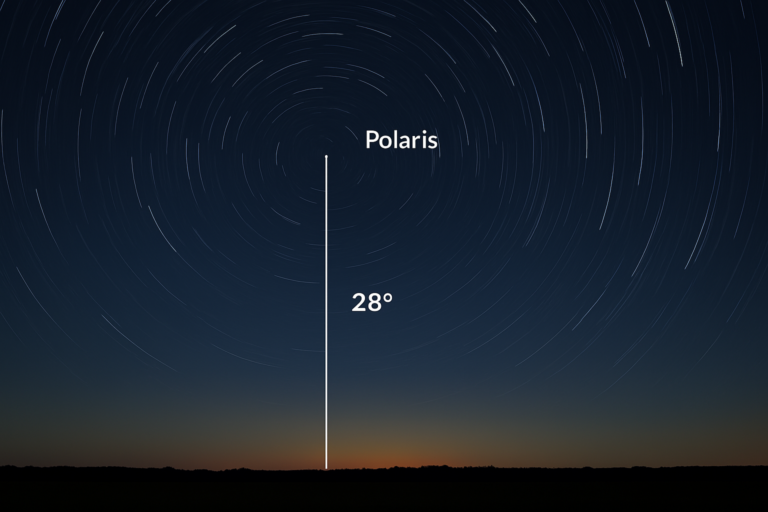
For example, from my location, the North Star (Polaris) sits about 28° above the northern horizon, and it never sets. Any stars within 28° of Polaris also remain above the horizon all night, every night. These are known as circumpolar stars.
As you look farther away from the pole — toward the celestial equator — stars rise and set throughout the night, and their visibility changes with the seasons. Some are only visible for part of the year. So while the night sky does rotate about 15° per hour, how much of the sky we see — and which stars are visible — depends on both the time of year and your location on Earth.
All of this plays a big role in how I choose what to shoot. I plan my targets based not just on what’s in season, but also on how long that object will be visible and how high it will rise in the sky. I try to photograph objects that are just beginning their arc across the sky — that way, I can capture them for as many hours as possible. I also prioritize targets that will reach a high altitude, where there’s less atmosphere to look through and image quality is better. By combining all these factors — season, altitude, duration, and rotation — I can make the most of every clear night under the stars.
Astrophotography Seasons
There are two main seasons in astrophotography: Milky Way Season (March to October) and Galaxy Season (February to May). During Milky Way Season, we’re looking into the dense core of our own galaxy, where you’ll find many nebulae and star clusters. This is the perfect time for wide-field astrophotography, which is what I’ve focused on most so far.
In the spring months, there’s a period when the galactic core isn’t visible in the night sky. Instead, we’re looking away from the plane of the Milky Way and deep into space. This period is known as Galaxy Season. These galaxies are millions of light-years away, and while they’re incredibly beautiful, they tend to be smaller and fainter, making them more challenging to capture with my current gear.
You will see a few blog posts that highlight some of these incredible galaxies.

Ultimately, I choose a target based on the time of year and its position in the sky. I prefer to photograph objects that are just beginning their rotation across the night sky — this gives me as many hours as possible to collect data. It’s also best to image when the target is high overhead, since there’s less atmosphere to shoot through at higher altitudes (more on that below).
Picking the Night
There are a lot of factors that go into a good night of astrophotography — and many of them aren’t in my control. Even if I’ve picked the perfect target, things like cloud cover, poor atmospheric clarity, or a bright Moon can ruin the shot. Perfect nights are rare, so I often shoot through less-than-ideal conditions. That usually means I have to discard more light frames when stacking the final image — but it’s often still worth it.
Here are the things I look at before deciding whether it’s worth heading out:
Cloud Cover
Clouds are the most obvious deal-breaker. Even thin, high-altitude layers can scatter light and kill contrast. Before heading out, I check a mix of weather apps to see what the hourly cloud cover is expected to look like. In Florida, cloudy nights are common — and there are definitely times when I get desperate enough to try timing my exposures between breaks. This can work if the gaps are long enough, but weather forecasts are rarely accurate down to the minute. I also have to be especially cautious to avoid unexpected rain — it doesn’t take much to ruin expensive camera gear.

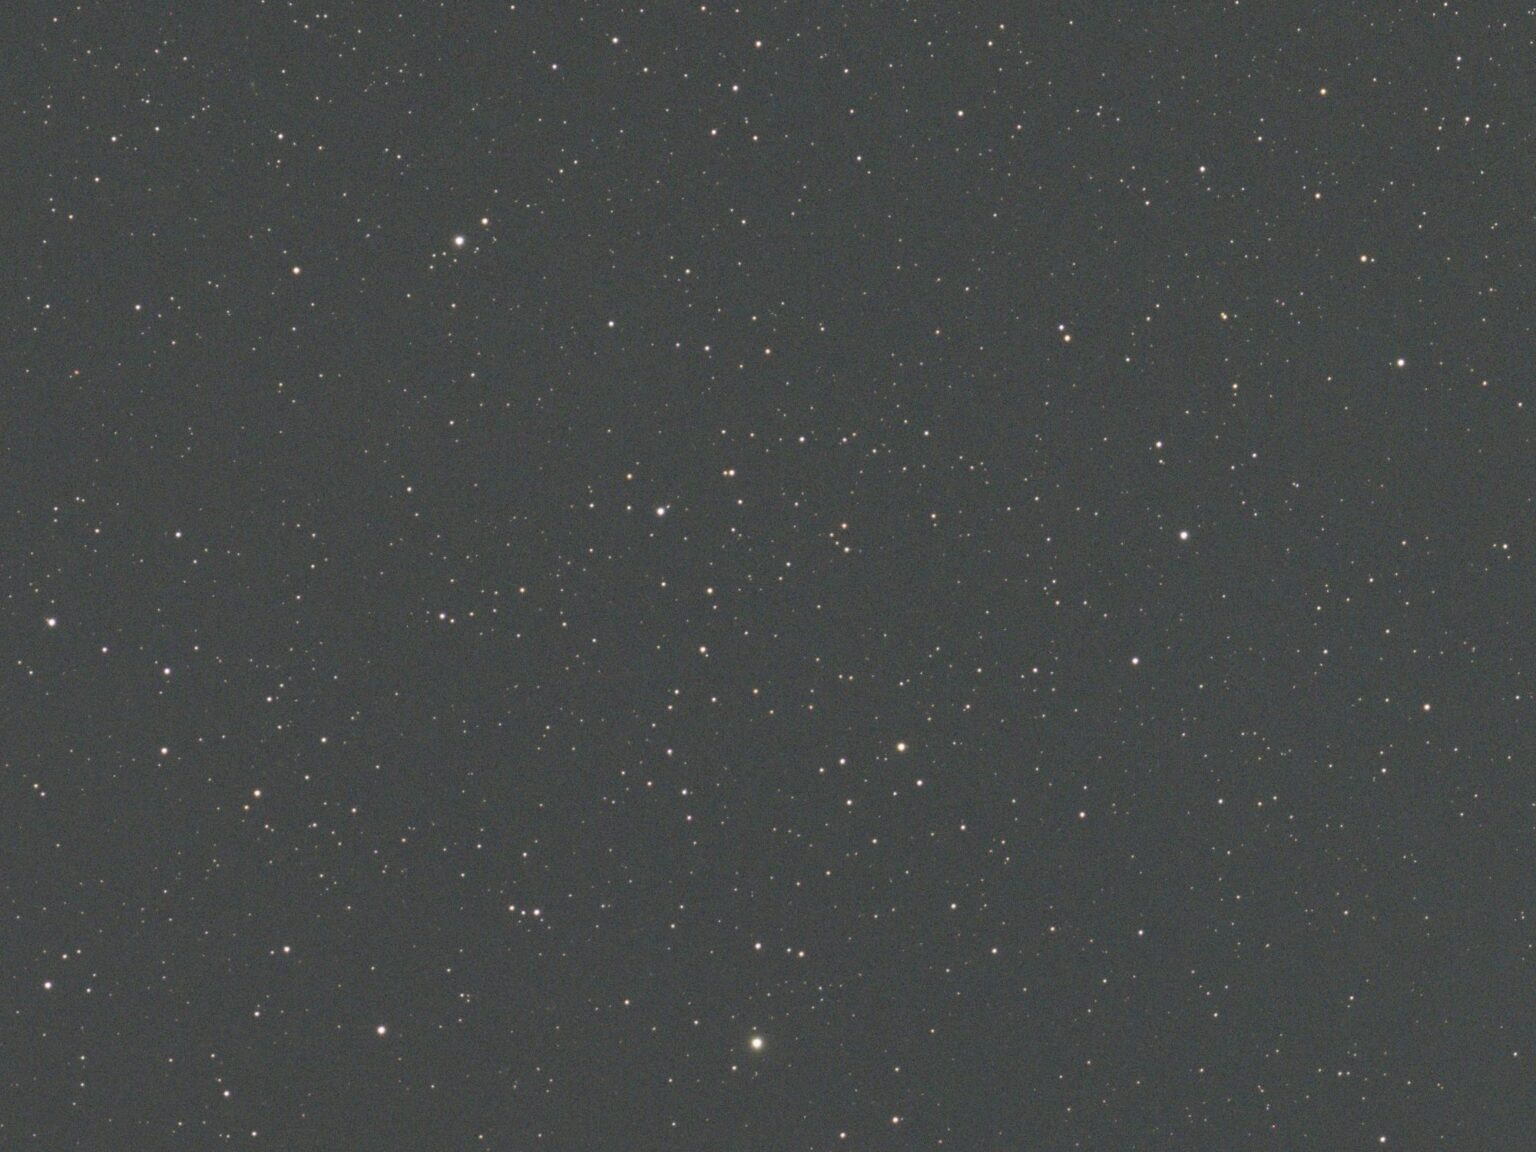
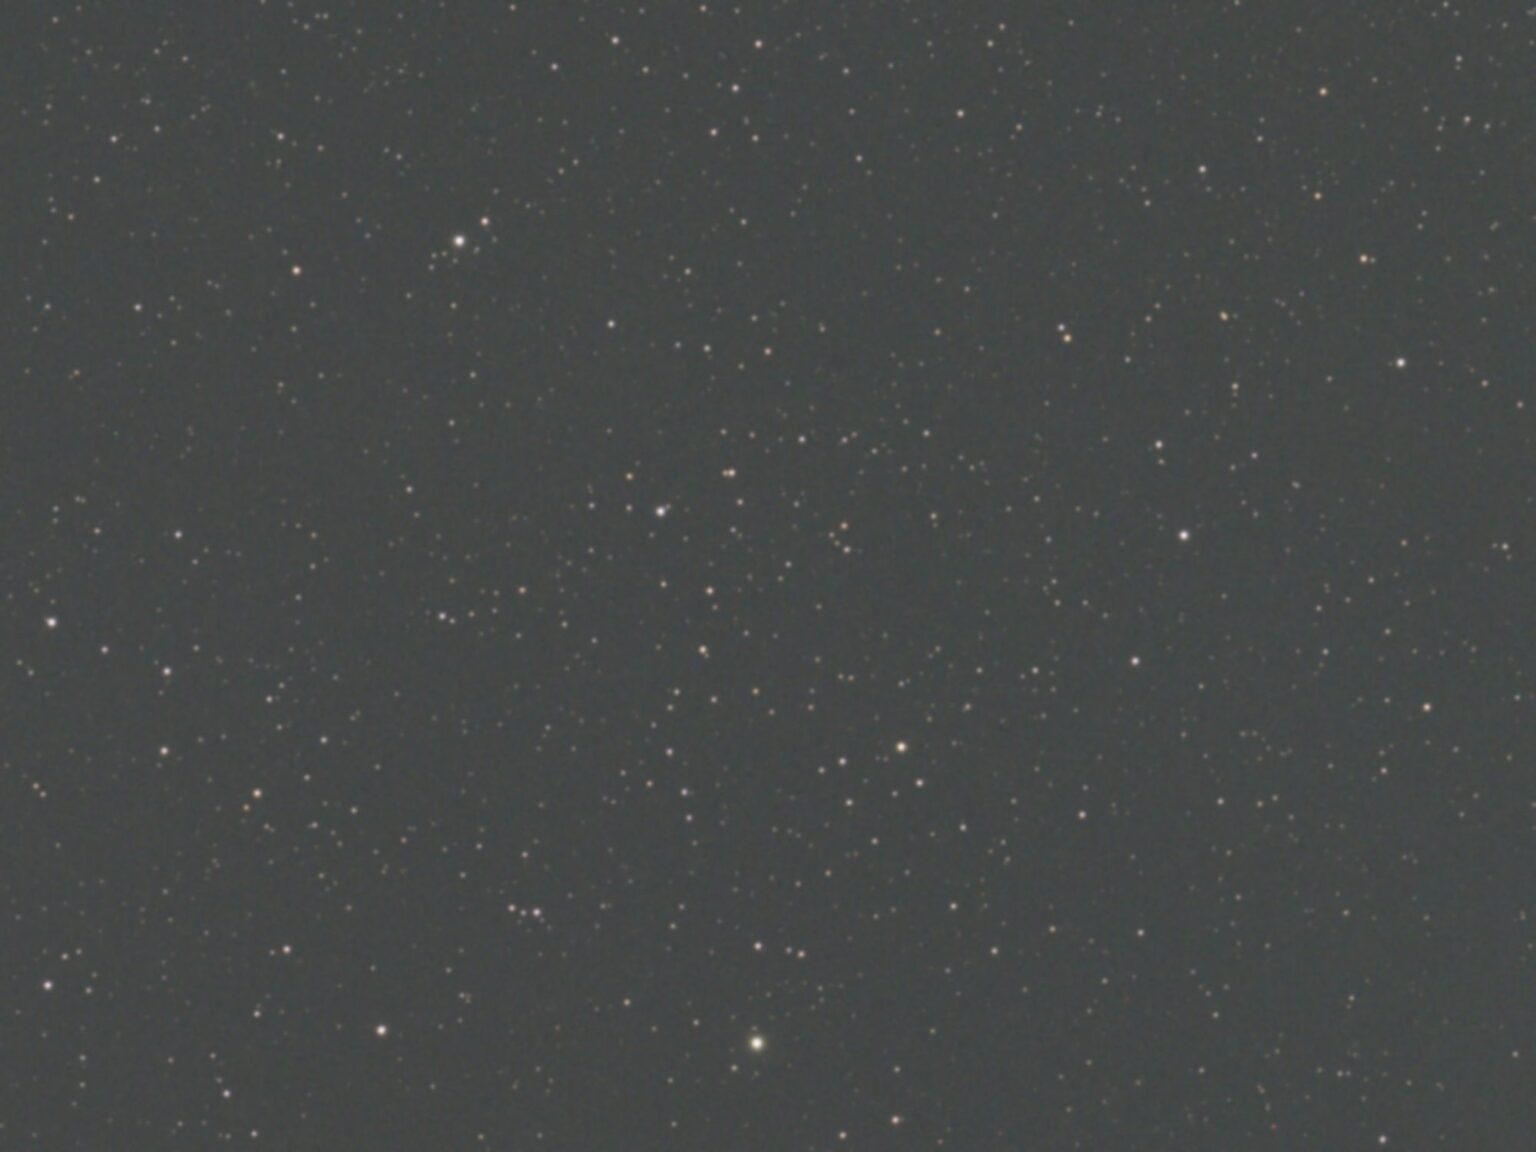
Transparency
Transparency refers to how clear the sky is. Factors like humidity, air pollution, smoke, and haze can all reduce transparency and get in the way of a clean image.
The first image is a single 5-minute exposure of the famous Horsehead Nebula, captured during a clear portion of the night. Note the annotated star Alnitak, part of Orion’s Belt. The second image shows the same target and exposure, taken just 19 minutes later as light clouds began to roll in. The nebula fades from view, and the stars appear softer as their light is scattered from the water molecules in the clouds. The final image, taken about an hour later, shows heavier cloud cover — with only the brightest star Alnitak barely visible through the haze.
Seeing
Seeing measures the stability of the atmosphere — similar to the shimmering effect you see over a hot road, or a smaller-scale version of the turbulence you might feel in an airplane. It’s caused by tiny variations in air temperature and density that distort the path of starlight as it enters our atmosphere. This is what causes stars to twinkle and has a significant impact on how sharp or soft the fine details in your image will appear.
Moon Phase and Position
Our Moon is about 25,000 times brighter than the brightest star in the night sky — Sirius. And when you’re trying to pull out fine details from a faint nebula, even a single bright star nearby can affect the image. The Moon has a significant impact on the night sky, even when it’s only partially illuminated or located far from my target.
That doesn’t mean I can’t or don’t shoot when the Moon is out — but it definitely influences what I choose to photograph. On moonlit nights, I often focus on brighter targets that can tolerate a bit of extra skyglow. I also use light pollution filters that help reduce some of the Moon’s effect, but there’s no substitute for the dark sky of a moonless night!
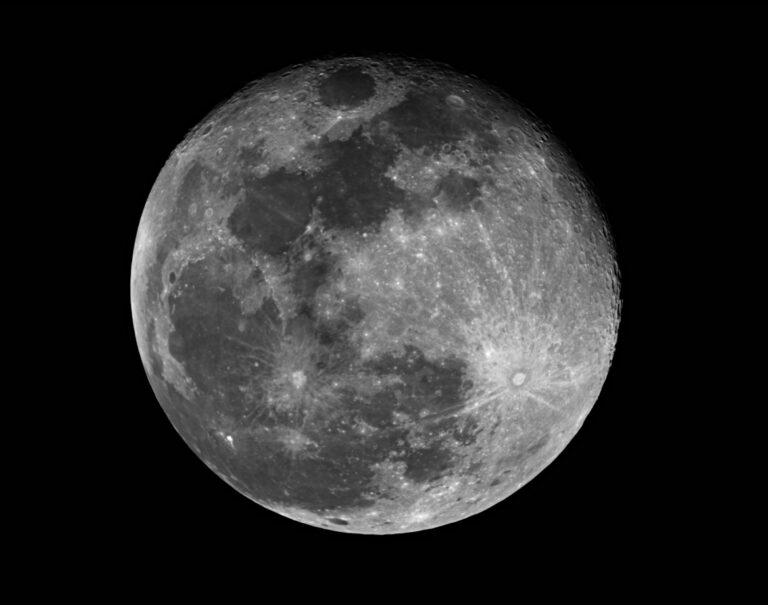
Sometimes the moon is the target!
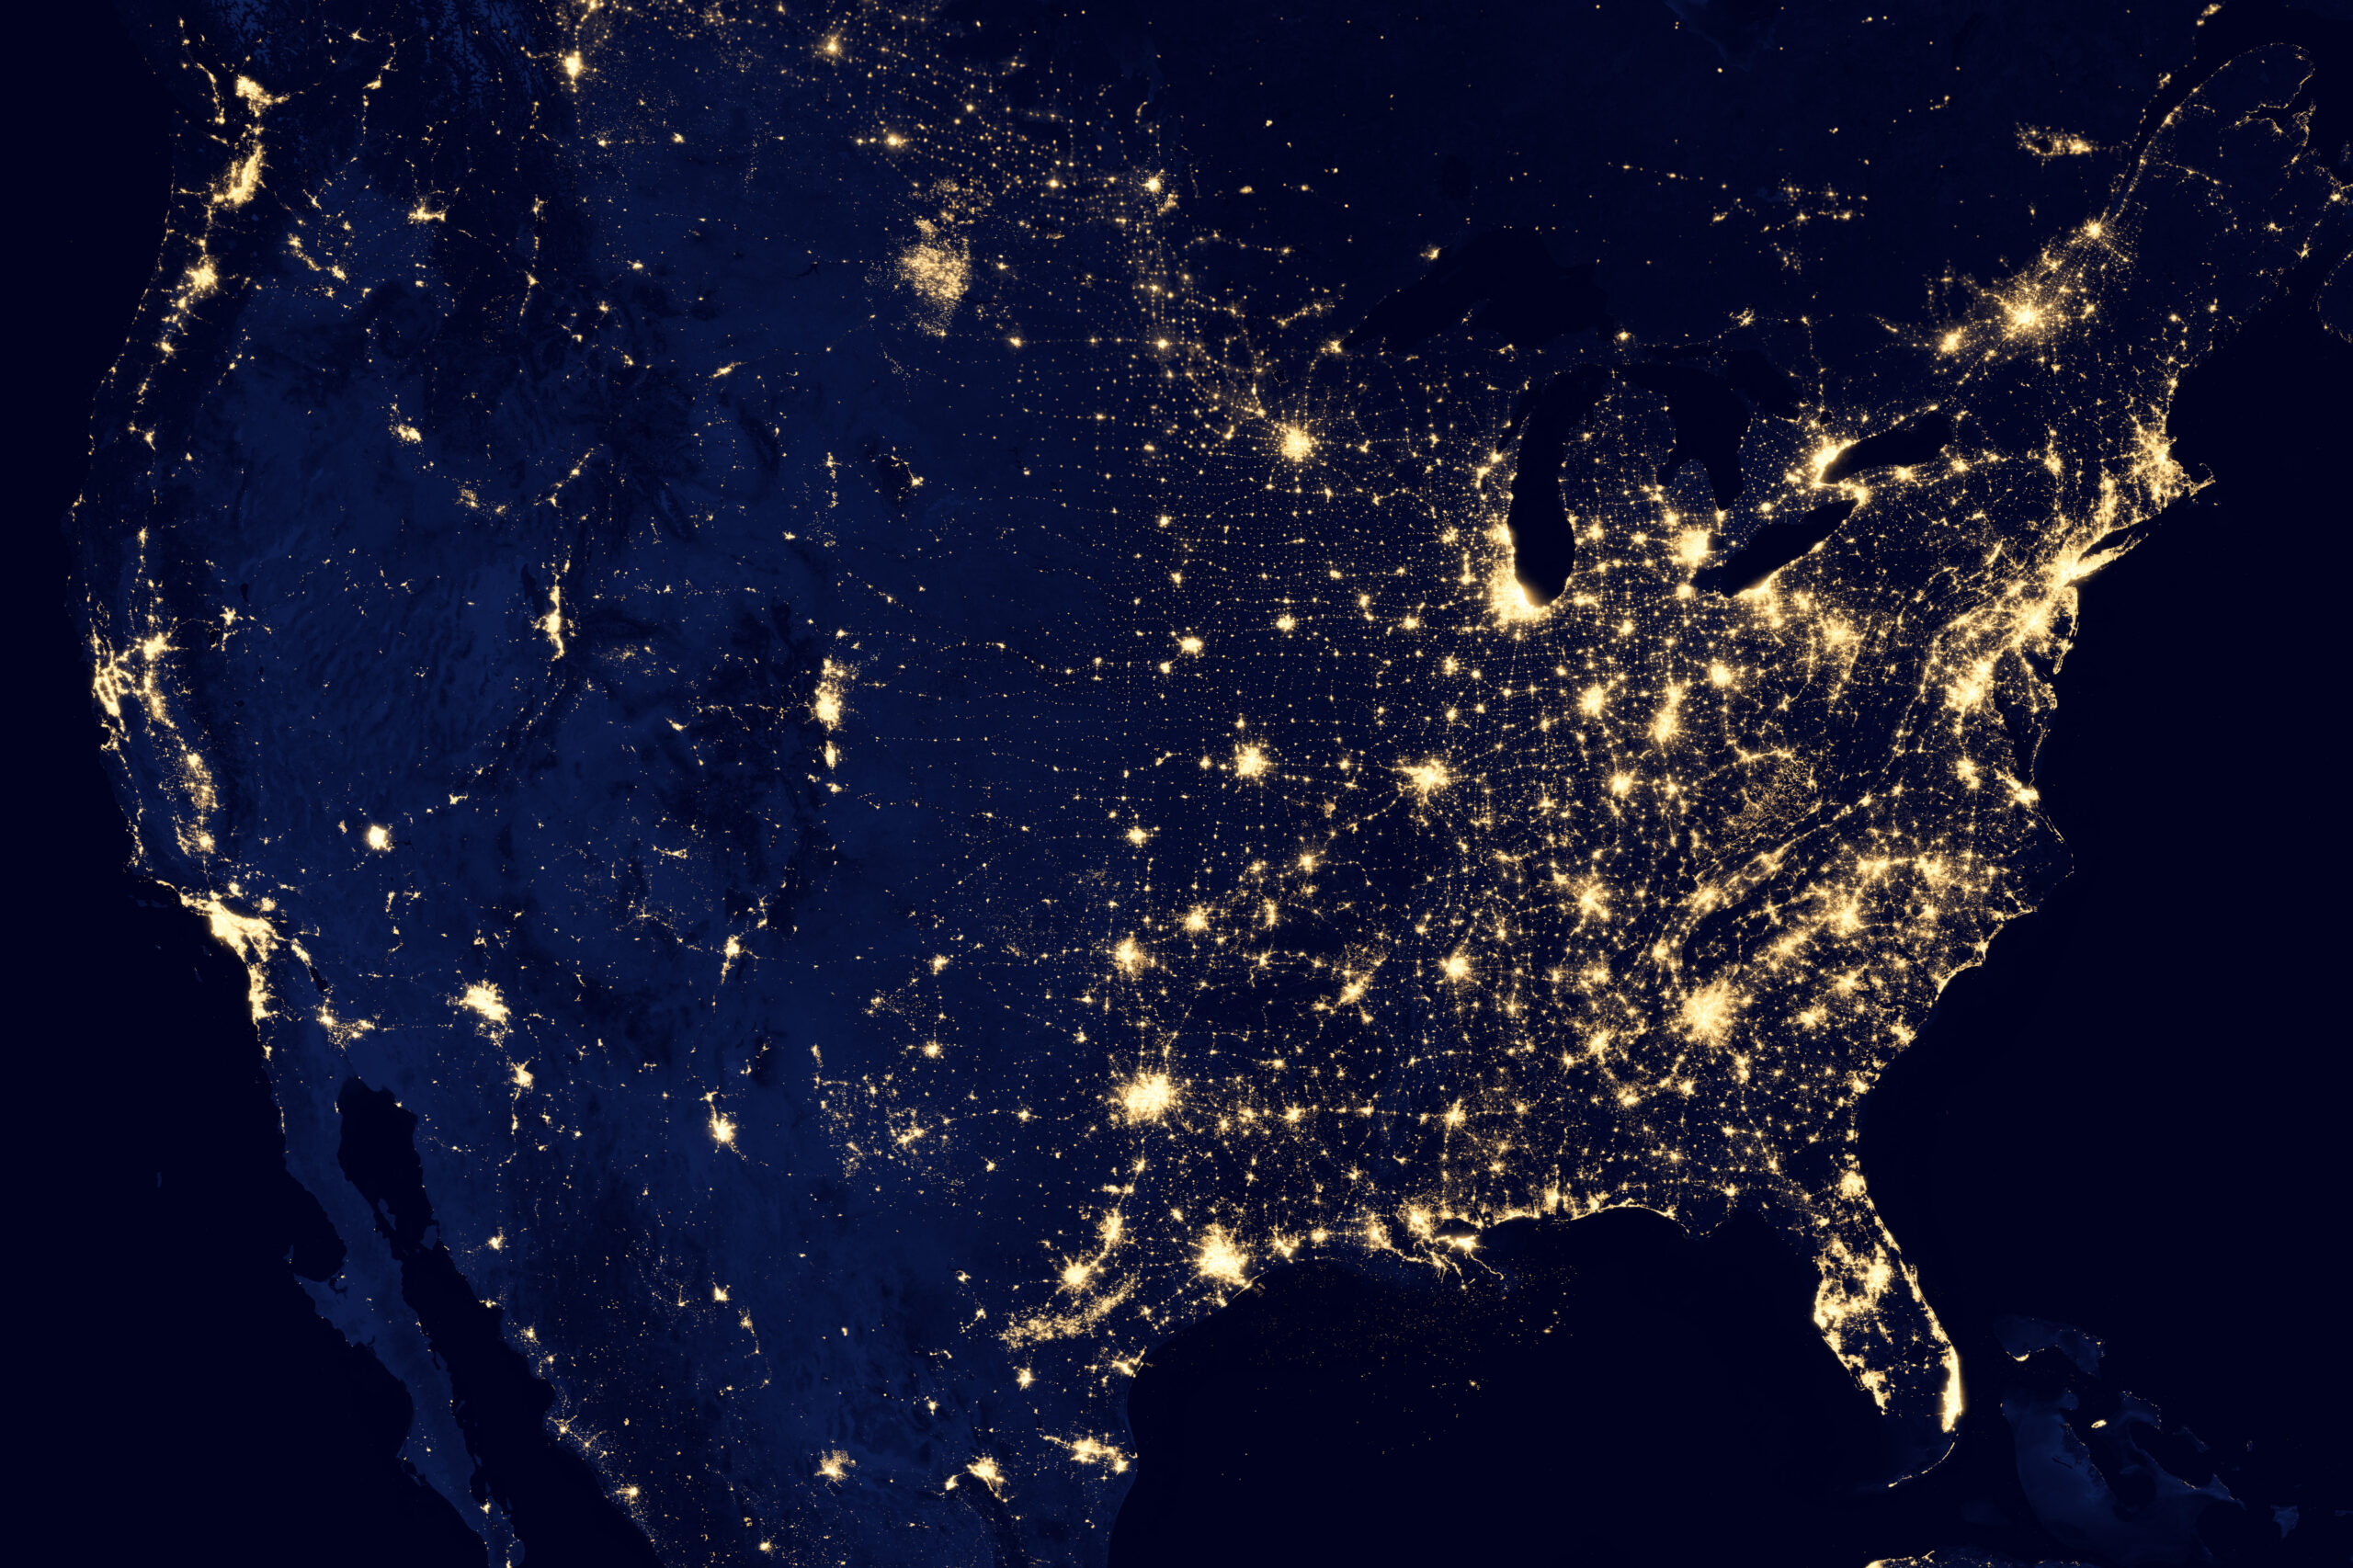
Light Pollution
Light pollution is one of the biggest challenges in astrophotography — especially for those of us shooting from suburban areas. The artificial glow from streetlights, buildings, and general skyglow scatters in the atmosphere and drowns out the faint details of deep-sky objects. While certain cameras and filters can help mitigate the impact, there’s no way around it: darker skies lead to better images.
Astronomers use the Bortle Scale to describe sky brightness, ranging from Bortle 1 (pristine, dark skies) to Bortle 9 (bright inner-city skies). From my location, I typically shoot under Bortle 6 conditions — typical of suburban areas with a visible light dome along the horizon.
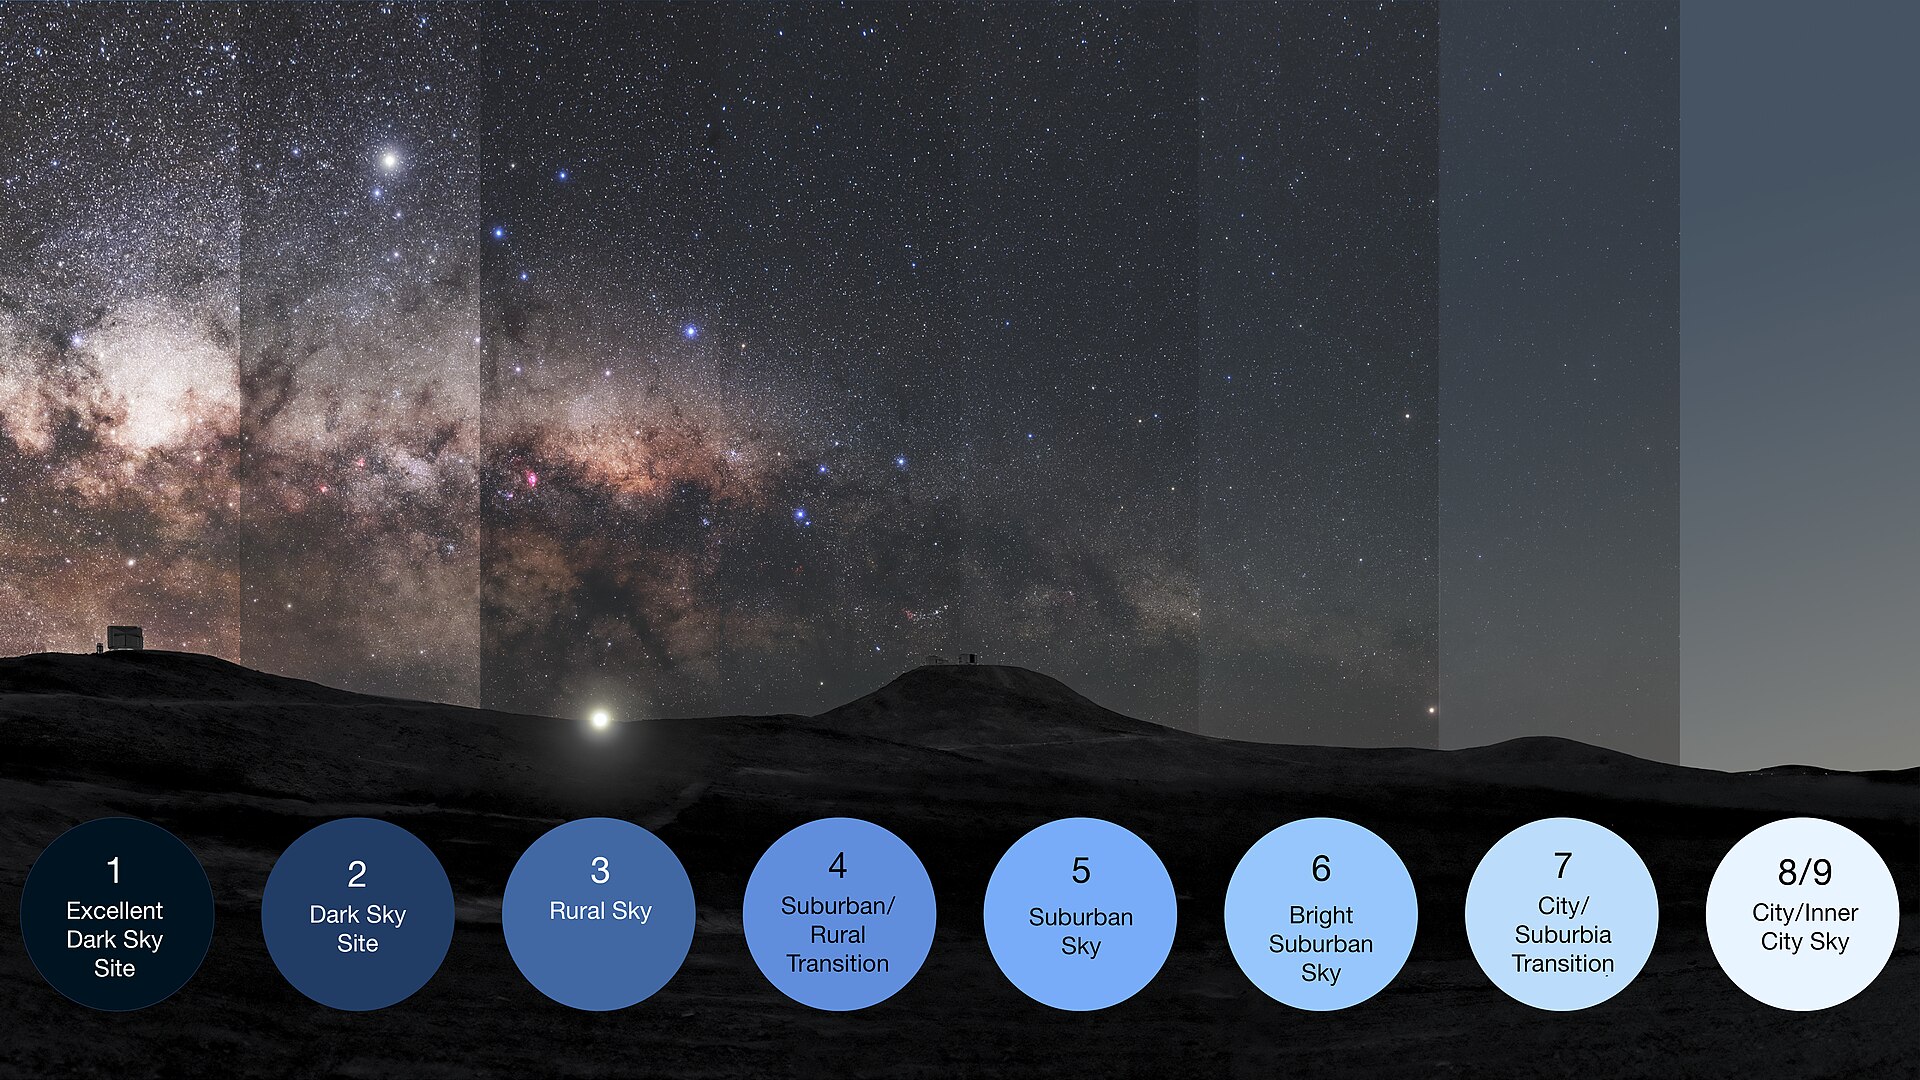
I’m still able to capture many bright nebulae, galaxies, and star clusters, especially when they’re high overhead. But I struggle with very faint targets, such as dark nebulae, where contrast is everything and skyglow makes pulling out fine detail incredibly difficult.
In some cases, I’ve spent over 50 hours imaging a single dark nebula in an attempt to separate the signal from the noise — only to end up with an image that barely shows the target at all.
I do use filters that block out specific bands of artificial light, and they make a noticeable difference. But some targets simply aren’t practical from my location. When I want to go after those truly faint objects, nothing beats packing up my gear and heading to a dark site.